4 HOW TO SCREENSHOT IN WINDOWS 10 LAPTOP QUICKLY AND EASY
1. How to Screenshot on a Windows 10 Laptop with the Print Screen Button
How to screenshot on a Windows 10 Laptop with the print screen button just by pressing the print screen button (Windows 10 laptops are generally labeled with PrtScn / PrntScrn / PrintScr / PrtSc or the like). Then open the paint software then right-click select paste or also by pressing the CTRL + V button.To save the image click on the file menu then save. Or by pressing the CTRL + S button directly.
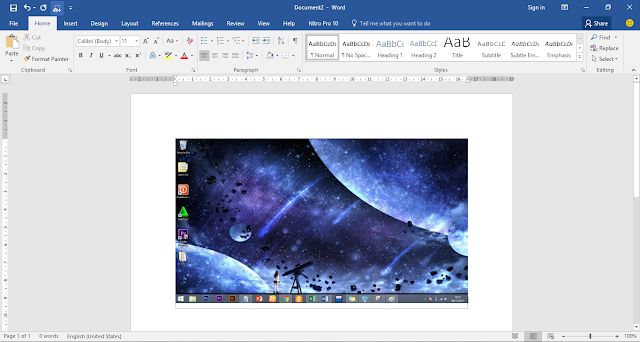
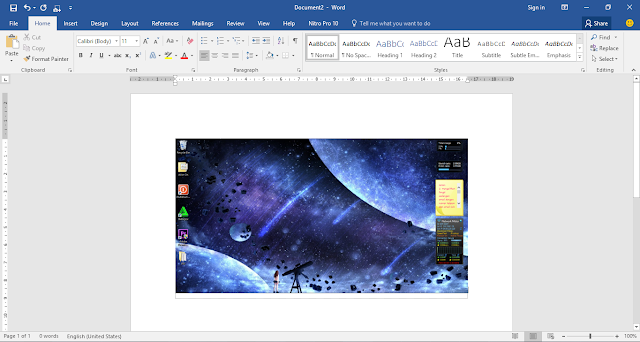
If the Friend wants to input the screenshots to Microsoft Word directly just by opening Microsoft Word then right-click select paste or press the CTRL + V button and the screen shoot will automatically enter the Microsoft Word page.
2. How to Screenshot on Windows 10 Laptops With Print Screen Button + Windows Button
How to screenshot on Windows 10 Laptops is the most favorite for me because this method is the easiest and fastest. To take a screenshot on a Windows 10 laptop in this way simply by pressing the combination key Windows + Print Screen. This method can only be done on Windows 8 and 10. After pressing the Windows combination key + print screen. Then the screen display will automatically be saved. To see the results of the screenshot open windows explorer> on this pc click picture> click the screenshoot folder.3. How to Screenshot on Windows 10 Laptops Using the Snipping Tool
Snipping tool is the default software starting from Windows Vista (Windows XP does not yet exist). How to use the snipping tool is very easy and simple. Screenshot in Windows can we set which parts we want to take.To open it, just open windows then type the snipping tool. Then click the snipping tool. After the snipping tool opens then click on new. Then left click and drag on the screen area that you want to take a picture of.
To save it can click on the file then select save. Or it can also be directly copied to Microsoft Word by clicking the edit menu then selecting copy and then pasting on the Microsoft Word worksheet.
4. How to Screenshot on Windows 10 Laptop with Screenshot Software
If the screenshot is strong with the print screen button and the snipping tool is not in accordance with the needs of friends. Friends can use the screenshot software that has more features than the three methods above.One of the most popular and widely used software is LightShot. In addition to features that are very complete. Like the image editor, add writing, arrows, captions and others.
LightShot is perfect for friends who like to make reports or write books in the form of writing and pictures.
Hopefully this article can help friends. So many tutorials on How to Screenshot on Windows 10 Laptop this time, see you in the next article.


